HOW to best pack for your next trek

by Chris on 3rd August 2018
Chris is the CEO of The Adventure People and has over 20 years experience in the travel industry.
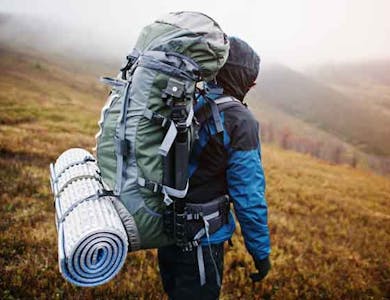
So you’ve bought your gear and bag for your trek but how do you actually fit everything in?
Here we’ll share the tips from our “Gear Expert” Tom from WholeSaleCamping.co.uk on what should go at the bottom, and what should be easily accessible and at the top/sides of your bag.
The three stages to good packing (A, B, C) are:
Accessible
What might you need at a moments notice? First aid kit, toiletries, headlamp, waterproofs.
Balanced
You want the weight of the bag to be balanced. For example if you have a hiking mat on the side you want something that weighs about the same on the other side.
Compact
Keep things compact. You can do this by using packing cells or compression sacks. This is where you put your clothes.
Now it’s time to start packing.
In the pocket at the top of the bag you put your first aid kit, penknife, sunglasses. So you know where they are and don’t have to rummage through your bag to find them.
In the inside pocket at the top you put your toiletries (remember the airline plastic bag rule), gloves and hat.
If you’re carrying your own sleeping bag, put it in the bottom of your bag.
The clothes you don’t have on you put in a packing cell, which makes it compact and even, put this in the bottom of your bag near your back. As it’s square and rather heavy, this will be the most comfortable place for it.
On top of this you put your insulator jacket such as a down jacket, then your wind proof top layer on top of this so it’s easily accessible.
Water bottles go on the side of your bag. If you don’t like them dangling around, put them in side pockets where your hiking buddies can help you get them out on the hike.
We hope you found this helpful! Here you can watch a video of Tom packing: